Wednesday, June 15, 2011

Banana-Nutella Toast

This is my breakfast obsession right now! I almost didn't share this with y'all because it is so ridiculously easy but I saw that Bobby Flay included a similar recipe in his new cookbook. If Bobby Flay can claim this as a fancy treat than so can I!
First, I must declare my love for Nutella! Have y'all tried Nutella? If not, leave right now, go to your local grocery store, and buy some. Done deal. It's normally in the peanut butter aisle and looks like this:
So after you get your Nutella you build your toast. Toast a slice (or two) of any bread. Schmear on some Nutella while your toast is warm. Then slice one banana and arrange the sliced banana on your toast. I slice mine directly onto the toast with the same knife I used for my nutella. Dishes to wash: 2, maybe 1 if you just put your toast on a napkin instead of plate. Love it! Bobby Flay one uped me by turning this into a panini sandwich. You could do that too but then you'd have something else to wash!

Saturday, May 21, 2011

Berry Cobbler Pie Bars

I know I have been MIA y'all, but I promise I've still been cooking! I just haven't been taking time to blog about it. I'm so sorry but I promise I'll make it up to you with these delicious berry bars.
When the weather starts getting warmer I always crave more fruity desserts. And when berry season comes around you are guaranteed to find some in my kitchen, in my desserts, and in my hand that's heading towards my mouth.
This dessert satisfies me on so many levels. As the name implies, it is part cobbler, part pie, and part bar which are three desserts I enjoy. Well, I guess there aren't many desserts I don't enjoy but that's beside the point. The combo of brightly colored berries makes me smile. And when it makes enough to feed a crowd you are able to share and still get your own helping. You gotta get your own helping! Amen to that.
Berry Cobbler Pie Bars
Recipe from Joy the BakerPrint this recipe

Crust and Topping
3 cups all-purpose flour
1 1/2 cups sugar
1/4 teaspoon salt
1 1/2 cups (3 sticks) chilled unsalted butter, cut into cubes
Zest of two lemons

Berry Filling
4 large eggs
2 cups sugar
1 cup sour cream
3/4 cup all-purpose flour
Pinch of salt
2  (16-ounce) packages frozen mixd berries (blueberries, blackberries, and raspberries-do not use strawberries), defrosted and drained. You can also use 6 cups of fresh berries, or 1 (16-ounce) package frozen berries and 3 cups of fresh berries.

 To make the crust and topping:
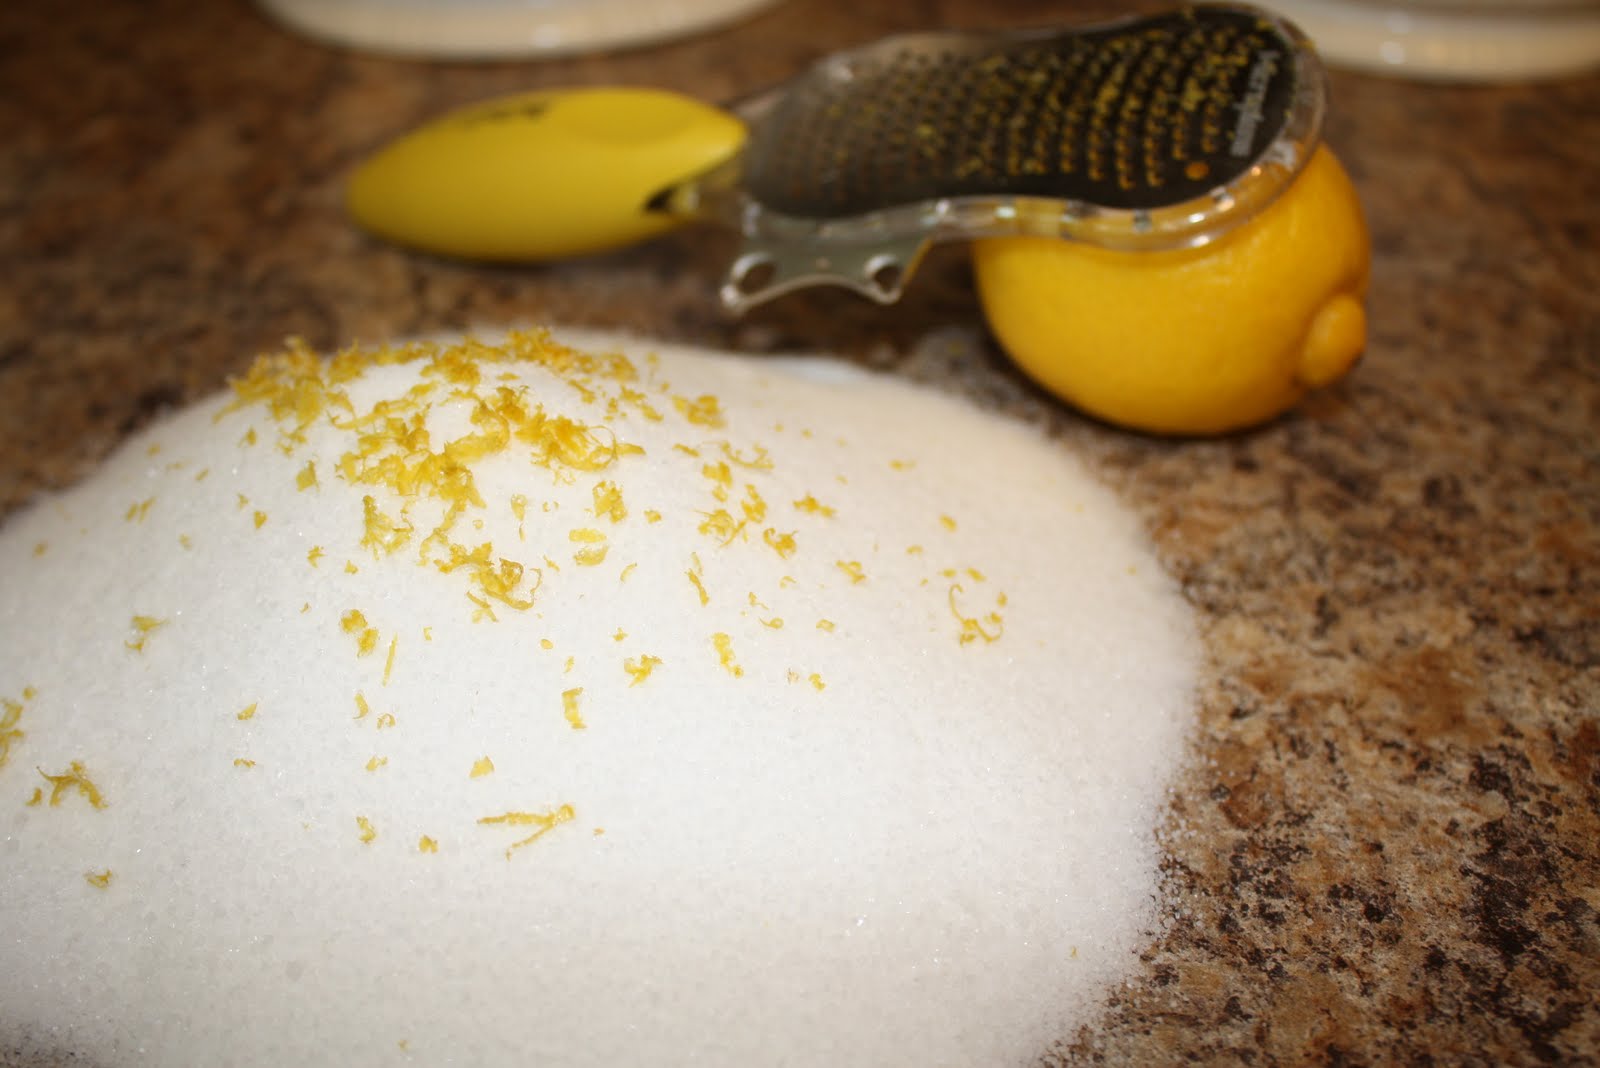
Preheat the oven to 350 degrees.  Grease a half sheet baking pan (12×17-inch) with butter or cooking spray and set aside.  If you use a 9×13-inch baking pan you’ll have thicker bars.  Zest two lemons.  Measure out the sugar onto a clean work surface. 
 
Rub the lemon zest into the sugar with a bench scraper or the back of a spoon.  Rubbing the zest into the sugar will release oils from the zest and create a lemon scented sugar. I think you could use this sugar for other baked goods or to rim a martini glass. Mmmhmmm. 
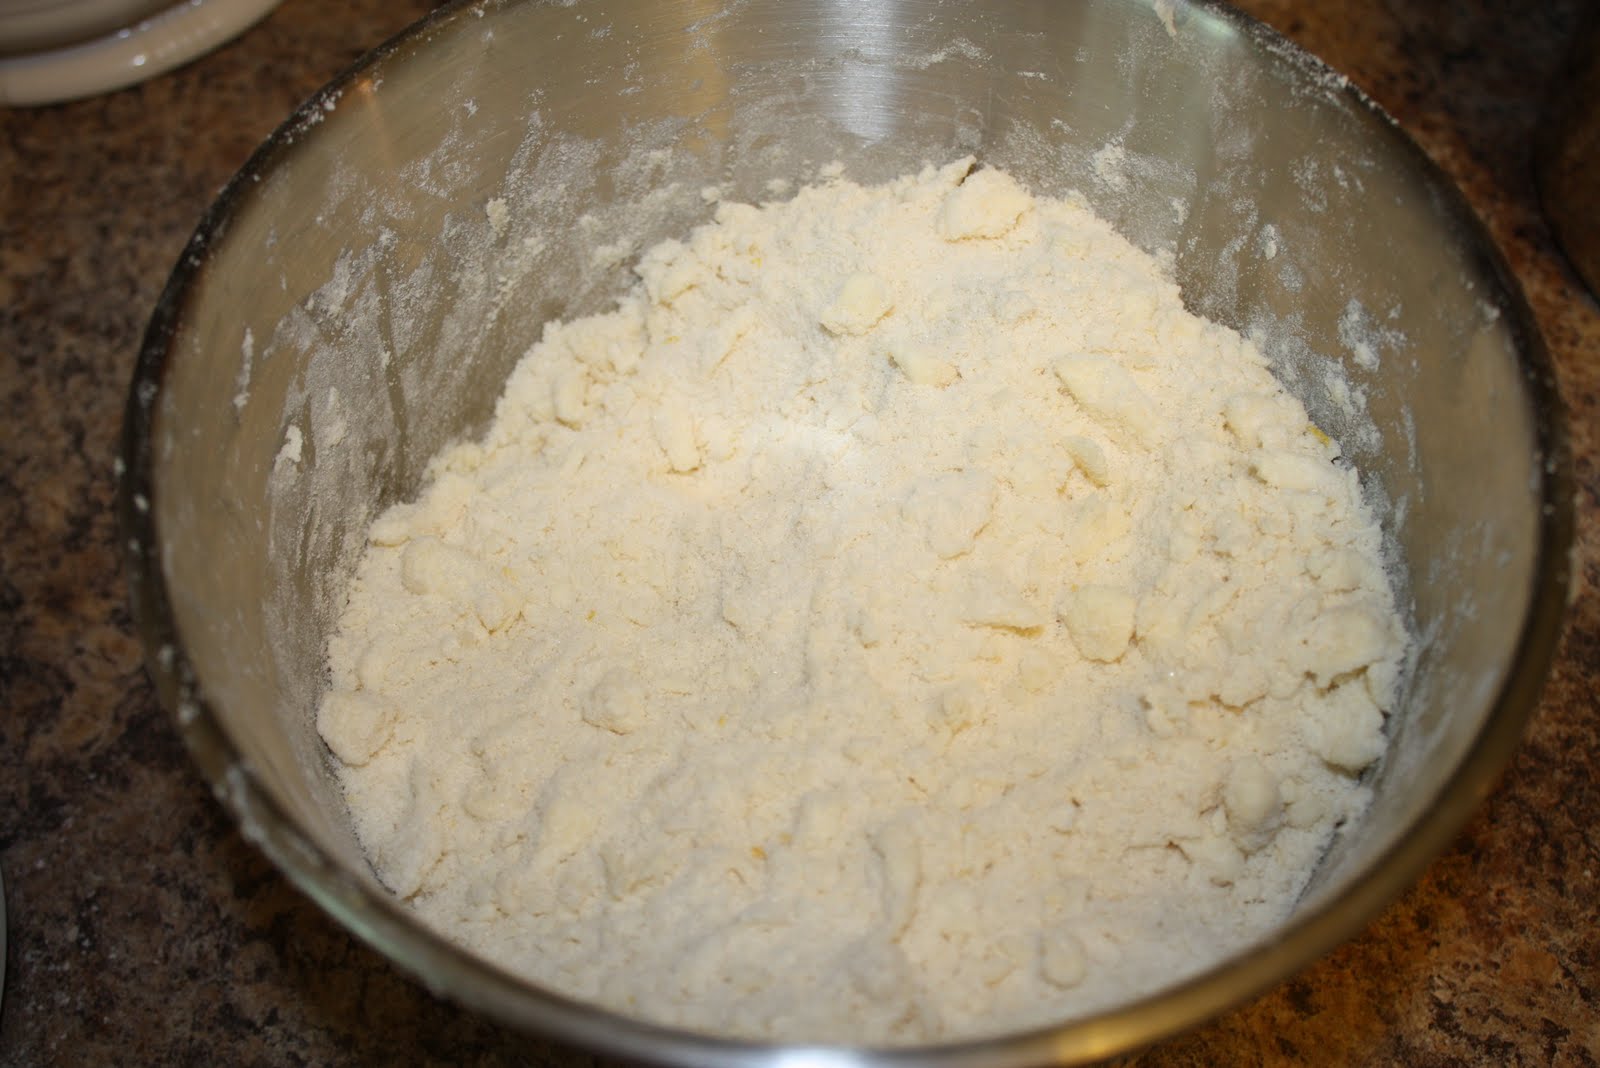
Combine lemon sugar, flour, salt and butter in an electric mixer fit with a paddle attachment.  
At the time that I made this I didn't have a paddle attachment. My regular beaters worked okay but I think I ended up using my pastry cutter in order to get the ingredients to look dry and crumbly.
Reserve 1 1/2 cups of the crust mixture to use as the topping.  Press the remaining mixture into the bottom of the pan.  
Bake the crust for 12 to 15 minutes until it is golden brown.  Let cool for 10 minutes while you make the filling.

To make the filling:
If you’re using frozen berries, be sure to defrost and drain the excess liquid.  You can place the frozen berries on a plate in the refrigerator overnight.  
Whisk the eggs in a large bowl.  Add the sugar, sour cream, flour and salt.  
Gently fold in the berries.  
Spoon the mixture evenly over the crust.  You may have to distribute the berries evenly around.
Sprinkle the reserved crust mixture evenly over the filling. Don't forget this part because I almost did!  
Bake for 45 to 55 minutes until the top is lightly browned.  
Cool for 1 hour before slicing. Enoy with others and expect the compliments to flow!

Thursday, March 17, 2011

red and green smoothie

Believe it or not y'all, healthy dishes really do come out of my kitchen. I try to eat a healthy breakfast and lunch to make up for my kinda healthy dinner and those frequent sweets I just have to have.
One thing I've created as a quick and easy breakfast is a smoothie that provides a serving of fruit and veggies. Throw everything in a blender, give it a taste, add more of something if you desire, blend again, pour it in a cup, and out the door you go sipping on your breakfast as you start the day. 

1 banana
1/2-1 cup of frozen sliced unsweetened strawberries
Handful of spinach leaves
1/2 cup of whatever milk you like (I use unsweetened almond milk)
I sweeten mine up a little with 1/2 teaspoon of agave nectar

Throw everything in your blender. The frozen strawberries make it so you don't have to add ice which will just act as a filler and could cause your smoothie to be watery. The color might not be super appetizing because of the spinach but drinking this smoothie is a much easier way to get those greens you need. Who wants to eat a boring salad all the time? 

Monday, March 14, 2011

Everybody's Favorite No-Bake Cookies


My goodness y'all, this weather is just crazy! 70 degrees one day. Raining and freezing cold the next. But no matter what the weather is, a classic, never complicated no bake cookie is always welcome. I have been eating these cookies since I was little. It is probably one of the first cookies I ever made on my own because it is so easy. I bet you have every ingredient in your pantry so get on in your kitchen and "bake" these sweets.
No-Bake Chocolate Oatmeal Cookies
Recipe from www.food.com
1/2 cup butter
2 cups sugar 
1/2 cup milk
4 tablespoons cocoa
1/2 cup creamy peanut butter
3-3 1/2 cups dry quick-cooking oats
2 teaspoons vanilla

Put the butter, sugar, milk, and cocoa into a sauce pan over medium heat.

Bring to a rolling boil and boil for 1 minute.

Remove from heat. Stir in the peanut butter, oats, and vanilla.

Drop spoon fulls onto wax paper. Let cool until set. Or eat them warm and gooey like my family does!


Sunday, March 6, 2011

Jambalaya

I have been so busy y'all but not too busy to cook up some good meals. This is a flavorful, but not very spicy, jambalaya. I adapted the recipe to fit my tastes so you can too!

Creole Jambalaya
Adapted from Comfort Food cookbook

2 tablespoons of butter
1 large onion, chopped
8 green onion, chopped
3 cups cubed cooked ham
1 pound Cajun-flavored or smoked sausage, sliced
1 8-ounce can tomato sauce
1/2 teaspoon salt
1/2 teaspoon ground black pepper
1/4 teaspoon cayenne pepper
5 cups of cooked rice

Melt butter in a large skillet over medium heat. Add onion and green onions. If you like green bell pepper or celery you can add that as well. Saute until tender.
Add ham, sausage, and next 4 ingredients. If you like a kick to your food, add some extra cayenne.
Cook, stirring occasionally, 20 minutes. Stir in rice; cover and cook, stirring occasionally, 30 minutes over low heat. Serve it up!

Friday, February 11, 2011

Let's Make Whoopie...Pies, That Is!

Have y'all ever had a whoopie pie? Well basically they're two soft cookies sandwiched together with a creme filling in the middle. This version is just perfect for Valentine's Day. Between the color and the name you just can't help but share these darlings with those you love. So get in your kitchen and make some whoopie...pies!

Red Velvet Whoopie Pies
Recipe from Better Homes and Gardens
2 cups AP flour
2 tablespoons unsweetened cocoa powder
1/2 teaspoon baking soda
1/4 teaspoon salt
1/2 cup butter, softened
1 cup packed brown sugar
1 egg
1 teaspoon vanilla
1/2 cup buttermilk
1 1-oz. bottle red food coloring

Whoopie Pie Filling
1/4 cup softened butter
Half an 8 oz package cream cheese
7 oz jar marshmallow creme

Preheat oven to 375 degrees. Line baking sheets with parchment paper; set aside. This helps the cookies to not stick. Combine flour, cocoa, baking soda, and salt. Set aside.
In a large mixing bowl beat butter on medium to high 30 seconds. Beat in brown sugar until light and fluffy. Beat in egg and vanilla.
Alternately add flour mixture and buttermilk, beating after each addition just until combined.
Then my favorite part. Stir in the food coloring.
Spoon batter in 1-inch diameter rounds about 1/2 inch high on prepared baking sheets. I use my finger to swirl the batter into the round circles. You can use the back of a spoon too. The batter really doesn't spread that much. Bake 7 to 9 minutes or until tops are set. Cool completely on baking sheets on rack.
Remove cooled cookies from baking sheets. Pair them up using similar sized cookies.
To make the filling: beat the softened butter and cream cheese until smooth. Fold in the marshmallow creme.
Using a spoon, dollop the filling on the flat side of a cookie. Top with another cookie. And that my dear, is a red velvet whoopie pie!
And if you wanna give these pies as gifts....remember what I used for the hot cocoa and marshmallow gifts? Love it even more.
                                              

Wednesday, February 9, 2011

Chocolate Gravy

Valentine's Day is coming up y'all! I think the best V-Day presents are those that fill your tummy and warm your heart. So why not start the day with some breakfast in bed with your honey?
Chocolate gravy has been a Christmas morning tradition for my family for as long as I can remember. Until I met my husband I thought my family was the only family who ate chocolate gravy. In the whole world. I was wrong. So now we eat chocolate gravy more than just Christmas morning and I thought this would be such an easy, but decadent, Valentine's breakfast.

3 tablespoons cocoa
1 cup sugar
3 tablespoons flour
Pinch of salt
2 cups milk
1 tablespoons butter
1 teaspoon vanilla extract

Mix all your dry ingredients together in a medium saucepan. Add milk and whisk constantly over medium to low heat.
The gravy will begin to thicken and get bubbly. Whisk in the butter and vanilla.
Remove from heat and pour over biscuits. I used canned biscuits because ummm...they are convenient, they don't make a mess like homemade biscuits do, and they taste pretty dang good. I did use the Pillsbury Simply Buttermilk Biscuits (no high fructose corn syrup and no artificial flavors or colors) which makes me feel a little bit better. I should add that if you use these I recommend you bake them in a round pan which will increase your baking time. Anyway....dig in! 

Don't be ashamed to lick your plate clean.

For more Valentine's inspiration check out these goodies by Bakerella. Think I can make them all by the 14th?